Let us do the Scanning for You
ABC Surveys offers a full, High Definition, 3D Laser Scanning service. We have the resources and knowledge to provide high quality scans and 3D models, from original scans. There are a variety of reasons why a 3D scan may be the best point to start, when gathering field data, for your new project.

What is 3D Laser Scanning?
3D scanners have the ability to “reach out and touch” objects. They, typically, use lasers and other optics as their “feelers”.
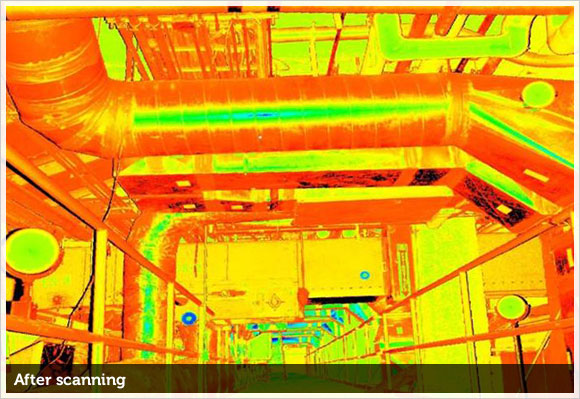
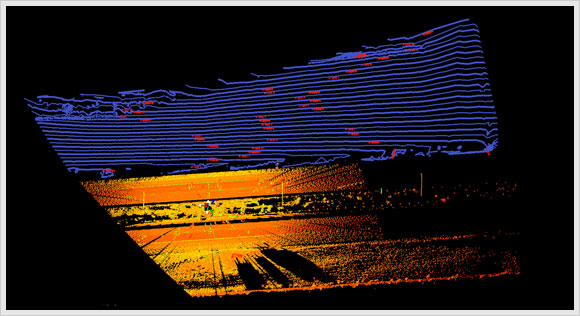
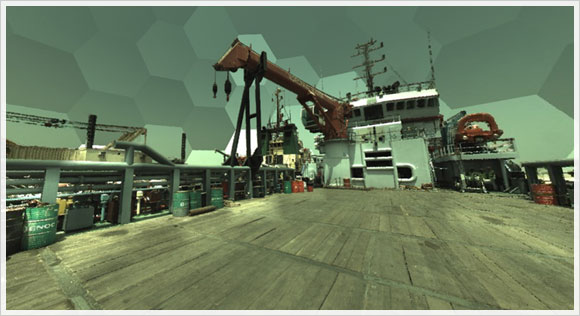
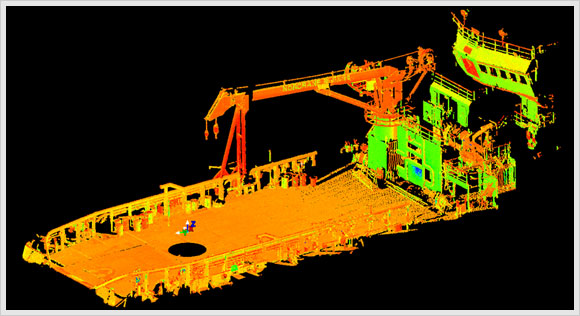
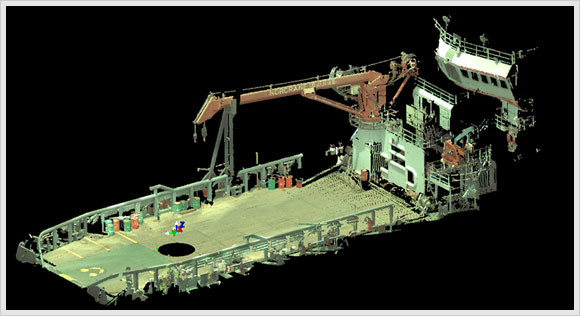
3D Laser Scanning is a non-contact, non-destructive, technology that digitally captures the shape, of physical objects, by using a line of laser light. 3D laser scanners create “point clouds” of data, from the surface of an object. In other words, 3D laser scanning is a way to capture a physical object’s exact shape and size, into the computer world, as a digital 3-dimensional representation.
How it Works?
The Process:
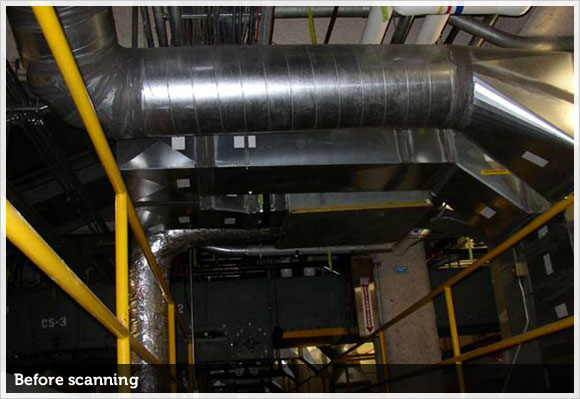
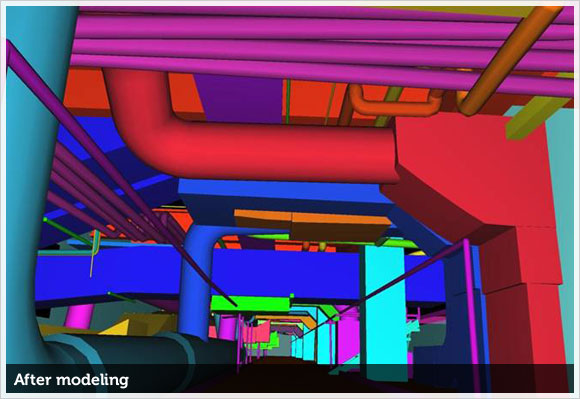
The concept, of the 3D laser scanner, is simple. The scanner, itself, pivots around and takes millions of, pin point, measurements with a laser. Each measurement is then converted into a 3D coordinate and entered into a database. The data can be viewed using software that converts the database information into “point clouds”. The software also enables the user to make sense of the huge amount of information that exists in a point cloud. The software can recognize basic shapes and surfaces, which can then be converted into a solid model. The solid model can then be used with other CAD/CAM programs for any purpose desired. The model can then be saved and used indefinitely.
Modeling Choice Depends on Application:
After the huge point cloud data files are created, they are registered and merged into a single three-dimensional representation, of the object, and then post-processed, with various software packages that are best suited, for the specific application.
Point Cloud Data for Inspection:
If the data is to be used for the purpose of inspection, the scanned object can be compared to the designer’s CAD nominal data. The result of this comparison process is delivered in the form of a “color map deviation report,” in PDF format, which pictorially describes the differences between the scan data and the CAD data.
CAD Model for Reverse Engineering:
Laser scanning is one of the fastest, most accurate and automated, way to acquire 3D data. Again, using specialized software, the point cloud data is used to create a 3D CAD model, of the part’s geometry. The CAD model makes possible the precise reproduction of the scanned object. The object can also be modified, in the CAD model, to correct weak points. GKS can provide a surface model or the more complex solid model, depending on whichever results are needed, for the desired application.
Reasons to Scan:
It’s economical. With a 3D model, made from laser scans, designs take less time and construction and can go ahead, without the usual glitches. Laser Scanning allows less expensive and more accurate “as built” drawings, to be created. 100% interference free, retro-fit designs can be achieved less expensively than ever. This is because cost effective models can now be used, much earlier, in the process, allowing for a better and more thorough input from operations and maintenance.
It’s fast. New Scanning technology has allowed development of 3D model to be done in 50% of the time it used to take. This allows Models to be built where it was previously considered too expensive. We can accomplish, in a couple of days, what may have taken weeks, or months, of data gathering with the more traditional tools and methods.
It’s friendly. Our equipment is safe and less invasive than traditional methods of measuring.
It’s mobile. We can scan just about anywhere. The equipment is highly mobile and is battery operated. Our employees will travel, to you, to get the job done. Data and dimensions can now be collected, in complex areas that were previously considered too difficult.
It’s compatible. We can deliver the 3D models in your current drawing standard, or even as 2D drawings.
It’s accurate. Our scanning equipment is accurate to within 6mm at a distance of 50m.
It’s easy. You just tell us what you need, and we can do the rest. You don’t need to purchase any new equipment or learn any new technologies. All Scanned information can be used now and in the future. There is no need for buying engineering information over and over.
